When it comes to baking, recipes are important. Baking is a science; the exact amount of each ingredient used matters and can greatly affect the finished product. Sometimes, though, it’s fun do things a bit differently! This dessert charcuterie board is the perfect way to pull together all of your favorite treats without turning on the oven or having to use a recipe. Look through your pantry and refrigerator, grab some favorite family treats, and be creative as you put them together to make a showstopper!
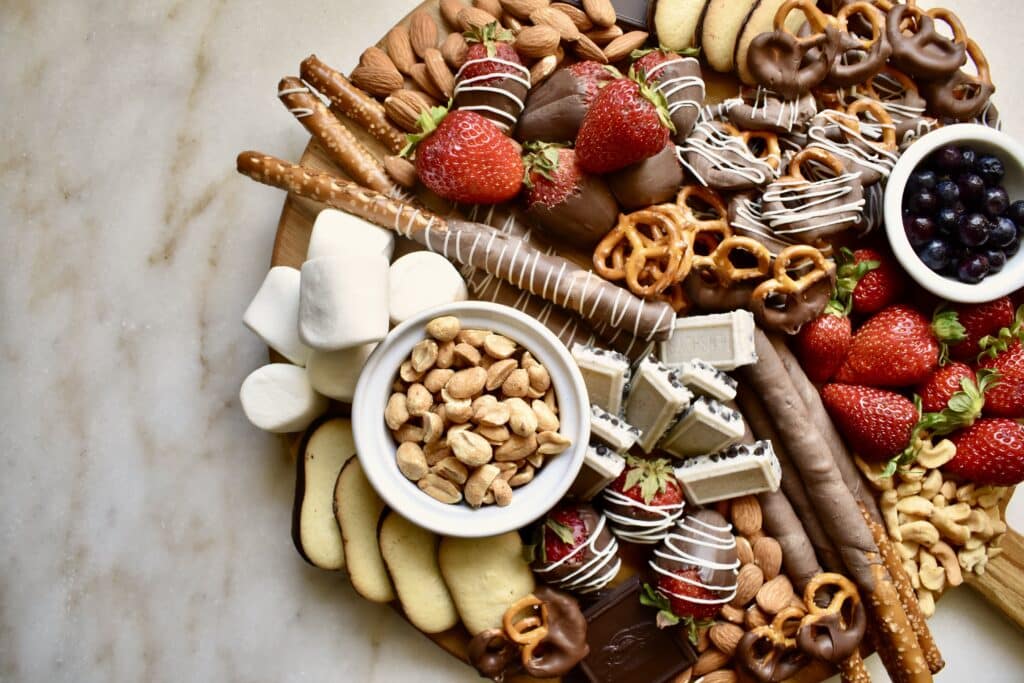
For my board, I wanted to add in some chocolate covered pretzels and strawberries. The technique of melting chocolate for chocolate-covered treats is called tempering. As long as you keep the chocolate within the proper temperature ranges while melting and cooling, the chocolate will re-harden with a smooth finish that doesn’t easily melt. Be careful to never exceed 130 degrees Fahrenheit and to keep all tools or fruit completely dry while working; water will cause the chocolate to seize up. Once you understand how to temper chocolate, you can do it all – candy, decorations, dipped treats!
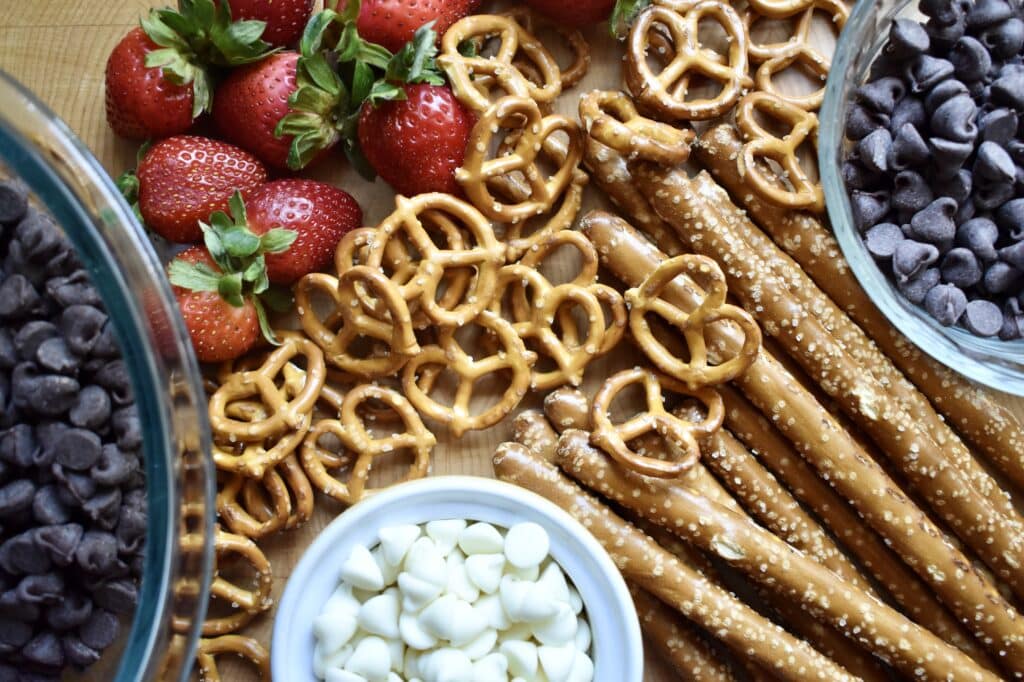
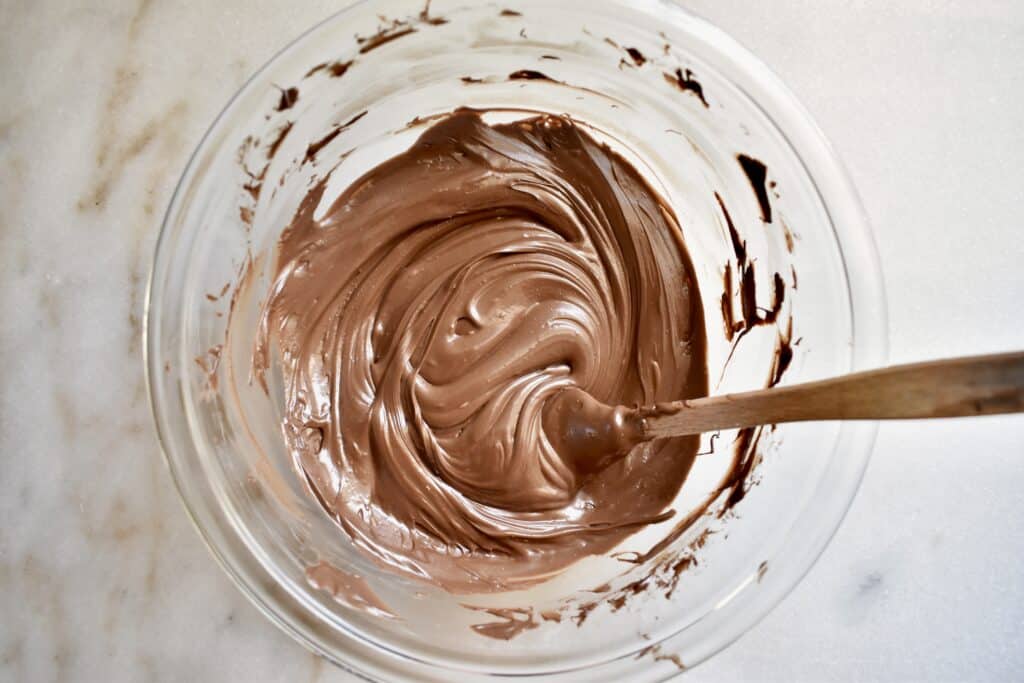
Use a double boiler (I used a glass bowl resting over a pot of hot water) to melt 2/3 of the chocolate pieces. Stir the chocolate constantly and keep an eye on the temperature – the ideal is to reach 110 – 115 degrees Fahrenheit. Once you reach that temperature, remove the chocolate from the heat and continue stirring to cool off. When the chocolate cools to 95 – 100 degrees Fahrenheit, add the remaining 1/3 of the chocolate pieces and stir until melted. The chocolate is now ready to be used! Dip your favorite treats in the chocolate and leave them on parchment paper to harden. Try out pretzels, fruit, marshmallows, nuts – it’s up to you!

To put together your board, grab a cutting board and your favorite treats. Be creative and pull together different flavors and textures to keep it interesting. Along with the chocolate covered pretzels and strawberries, I added almonds, marshmallows, peanuts, cashews, cookies, chocolates, strawberries, and blueberries. For much of it, I shopped my pantry and refrigerator and used what I had on hand. To get some creative ideas, walk up and down the cookie, nut, candy, and fruit isles of the grocery store. You could even make a themed board for a holiday or special occasion or party. There are so many possibilities! Here are a few ideas to get you started:
Fruit – strawberries, raspberries, blueberries, grapes, blackberries, apples, oranges
Salty – pretzels, popcorn, pecans, almonds, walnuts, peanuts, cashews, macadamia nuts
Candy – candy bars, m&ms, chocolate bars, gummy bears, sweet & sour candy
Treats – macarons, cookies, marshmallows, caramels
Dips – chocolate, caramel, fruit dips, peanut butter
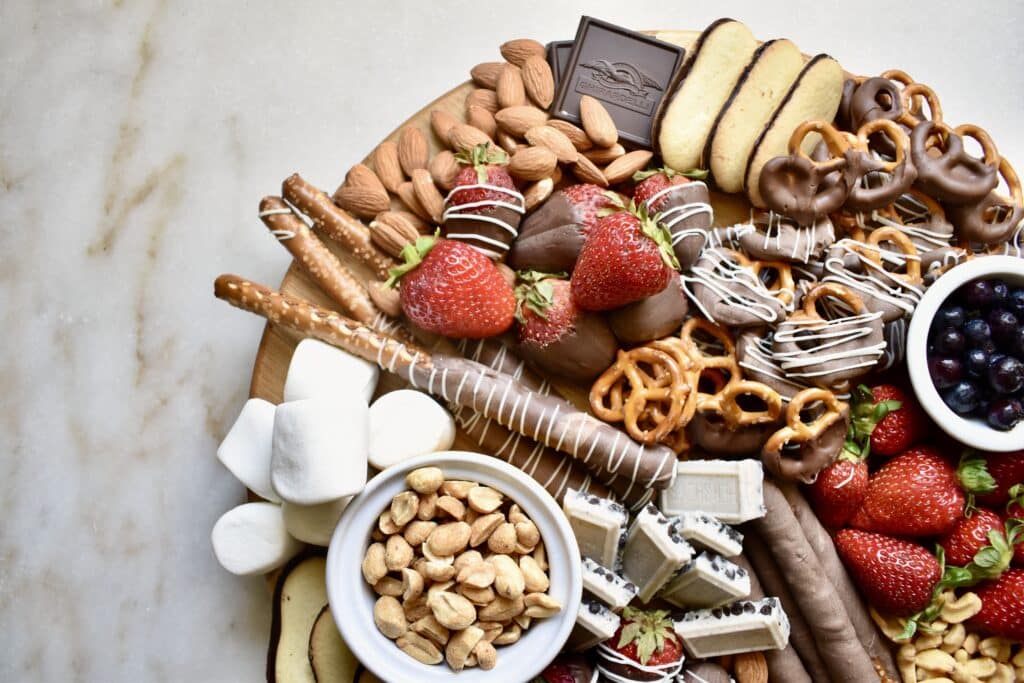
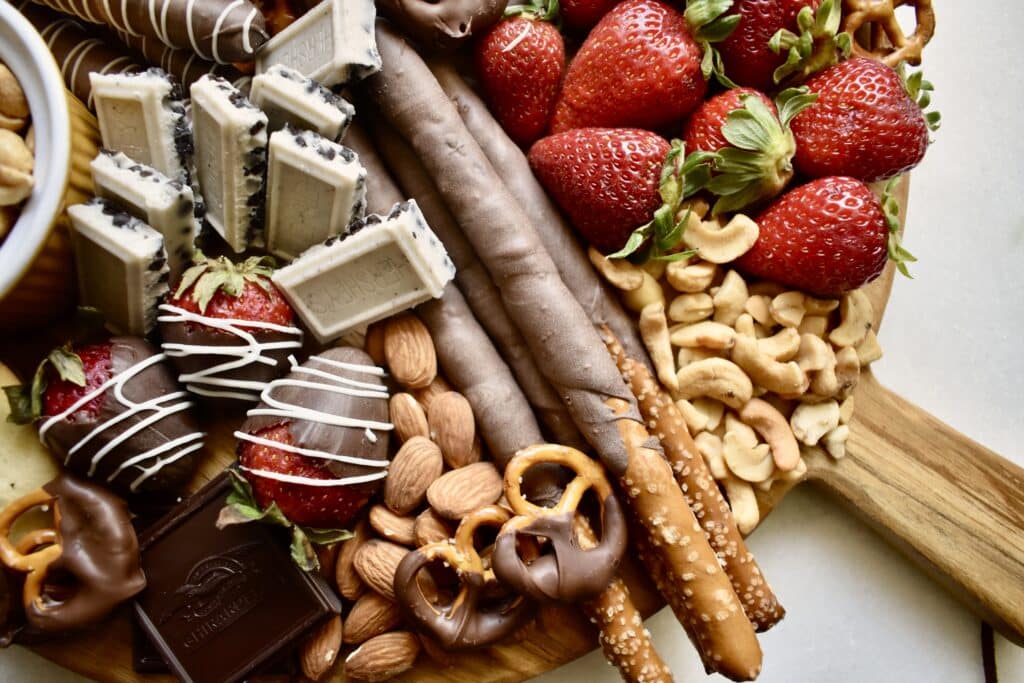
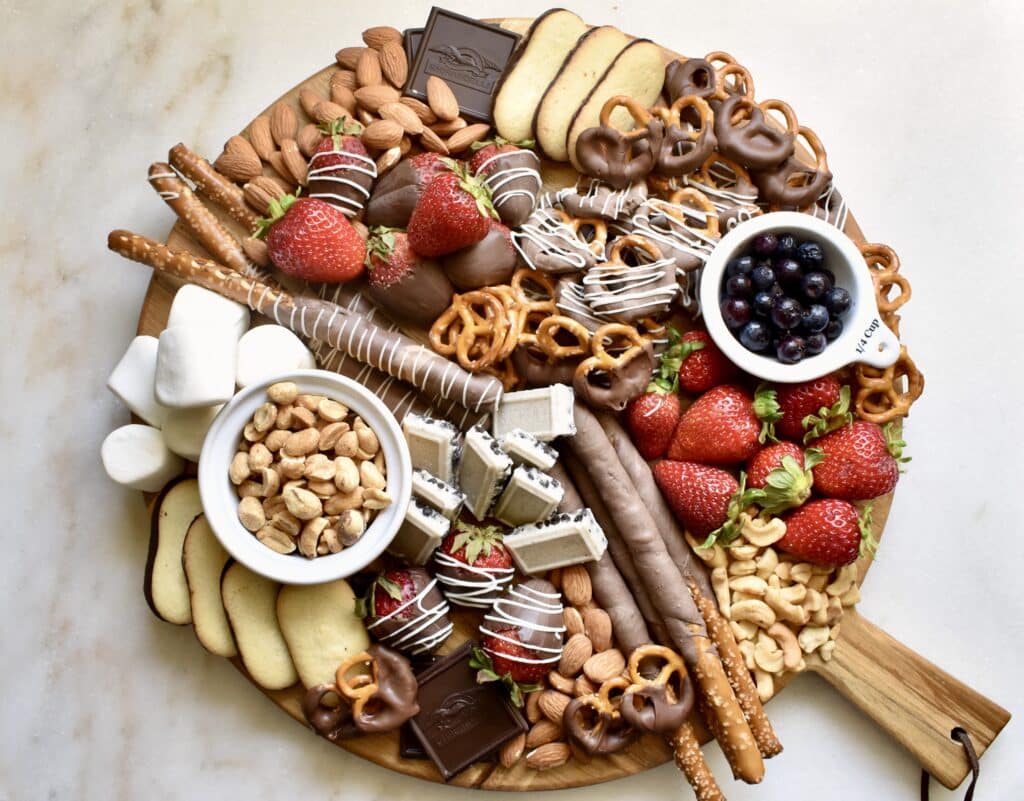
I was really pleased with how fun and easy this was to put together. You get to choose the size, complexity, flavors, and ingredients that go into your board, but I am certain that it will come out stunning. One of my favorite things about baking is the conversations that come about while sharing a dessert, and I hope that this will bear fruitful chats and make people feel so cared for and special as they get to dig in with you.
Enjoy!
Anna
Chocolate Covered Treats
Learn how to temper chocolate for your favorite chocolate covered treats!
Course: Desserts
Main Ingredient: Chocolate
Prep Time: 5 min
Cook Time: 10 min
Total Time: 15 min
Serves:
Ingredients
- Semi-sweet chocolate finely chopped
- Treats for dipping pretzels, nuts, fruit, marshmallows
Directions
- Never let the chocolate exceed 130 degrees Fahrenheit and keep all tools or fruit completely dry while working. Water will cause the chocolate to seize up.
- Using a double boiler, melt 2/3 of the chocolate pieces over hot (but not boiling) water. Stir constantly until the chocolate reaches 110 - 115 degrees F. Remove the chocolate from the heat and continue stirring until the chocolate cools to 95 - 100 degrees F. Add the remaining 1/3 of the chocolate pieces and stir until melted.
- Dip your favorite treats in the chocolate and leave on parchment paper to harden.


