Hi there! It’s Anna from over at The Little Blue Mixer. I am so excited to be here with you at Plan to Eat!
I have some really exciting news to share… I will be here blogging with you all year long. Yes! You read that right! I’ll be here each month sharing sweet or savory baked goods, or handy baking tips & how-tos, or seasonal treats you can make right in your own home. I’m so looking forward to spending this year with you! Let’s get baking!
I thought the perfect way to start off the new year would be with a warm batch of cinnamon rolls. Let me tell you, the smell of these baking in your kitchen will warm you right up no matter how much snow may be outside your window. [Not that I would know much about snow here in Charleston, SC ;)]
This recipe is a labor of love, but I promise it is worth it. I have tried to be extra meticulous with the photos and directions so you won’t have any doubt of what you are doing along the way! And I’ll go ahead and fill you in on my biggest secret right from the start… if you have the freezer space (or if you just love blessing your neighbor with a heartfelt surprise), go ahead and double the recipe and freeze some! I love having these cinnamon rolls stashed away in our freezer to pull out and heat up on random Saturday mornings. It’s so easy and makes all of the effort put in on the front end worth it.
The first step in the recipe is to scald the milk. Scalding milk isn’t something I do often. In fact, I think the only recipe I currently make that calls for it is this one! Scalding milk helps yeasted bread to have a fluffier and lighter texture.
To scald the milk, heat it in a saucepan over medium heat until just before it boils. Stir the milk continuously to prevent a film from forming on top. When the milk begins to bubble around the edges of the pot and steam is rising, it’s ready. Set it to the side to cool until lukewarm. If a film forms on top of the milk while cooling, simply scrape it off with a spoon before adding the milk to the dough.
If you need further instruction, here’s a simple how-to video you can watch.
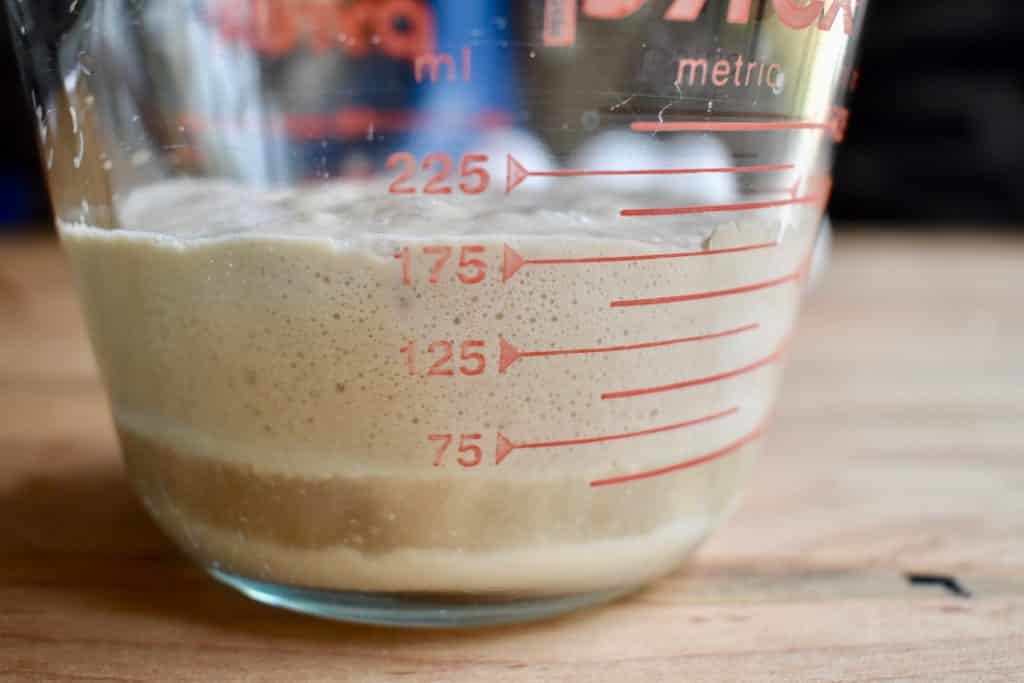
Next, we need to proof the yeast. Do this by adding the yeast to water that is 100 – 110 degrees F. You can initially stir the yeast into the water, but then let it sit for at least 5 minutes. When the yeast is foaming like the below picture, it’s ready.
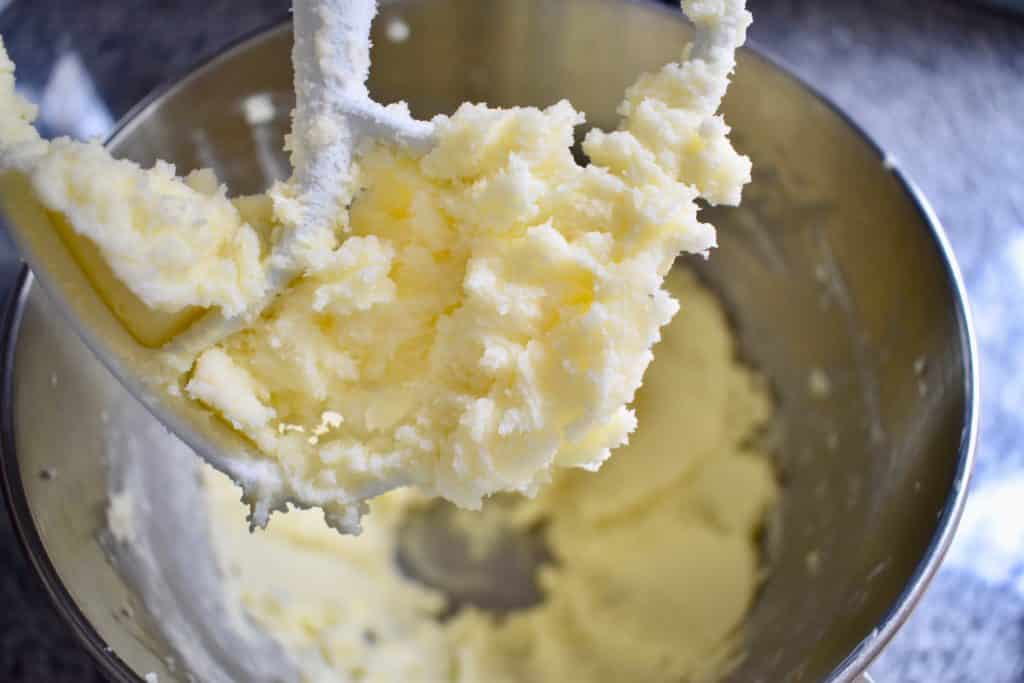
While the yeast is proofing, cream together the butter, sugar, and salt in your stand mixer.
In a small bowl, slightly beat the eggs with a fork. Add the eggs, lemon juice, lukewarm milk, and yeast to the mixing bowl and slowly mix together. The mixture will be quite liquid, so don’t let that alarm you.
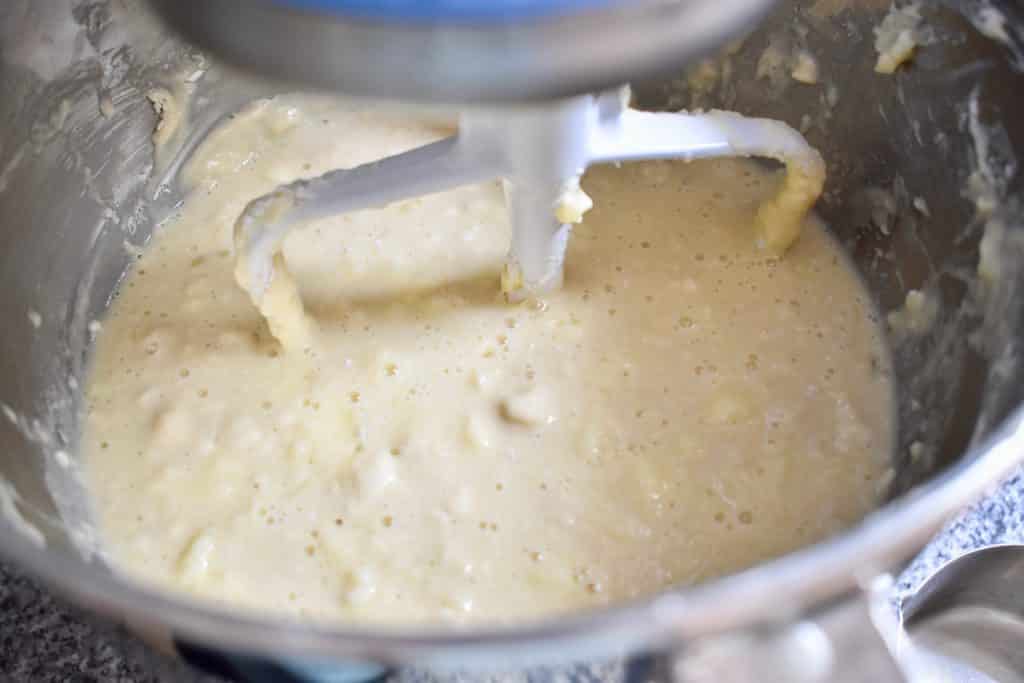
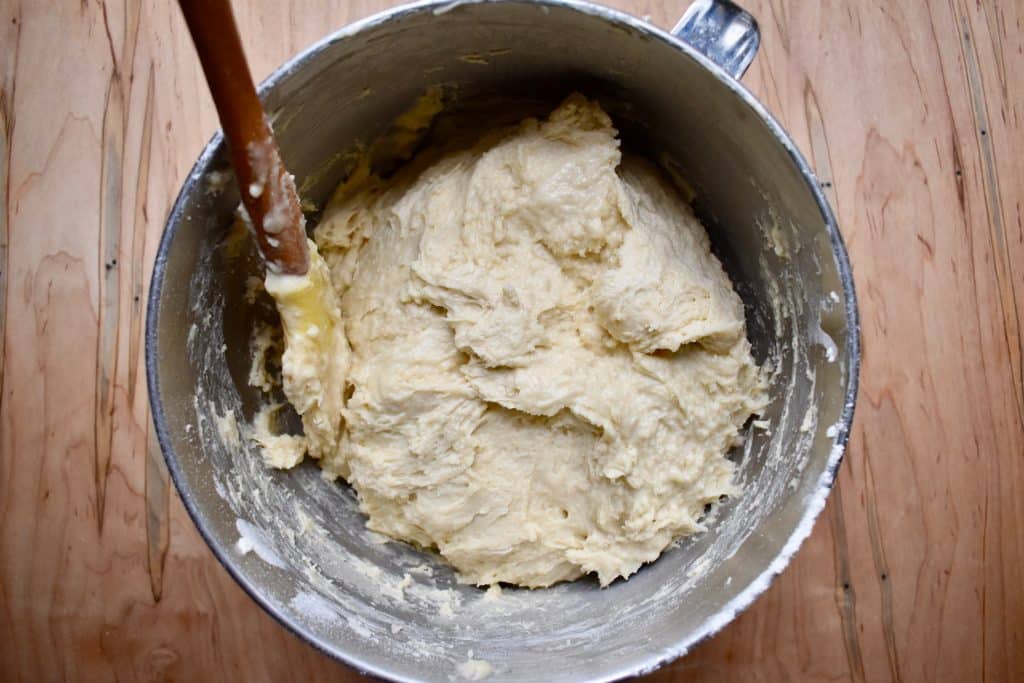
Gradually mix in the flour. Once combined, the dough should be slightly sticky to the touch but not wet.
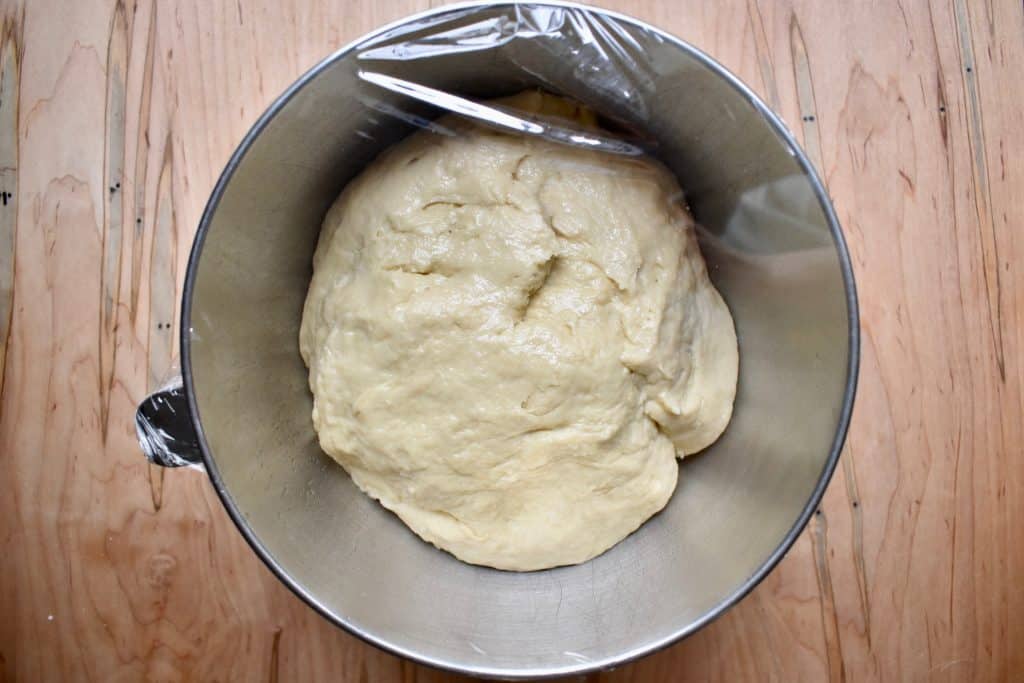
Turn the dough out onto a lightly floured counter and knead well. If your dough is still wet, you can knead in a little extra flour. While the dough is on the counter, wash and dry your mixing bowl and then grease with either oil or cooking spray. Place the dough back in the bowl, spray the top of the dough with a little cooking spray, and cover tightly with cling wrap.
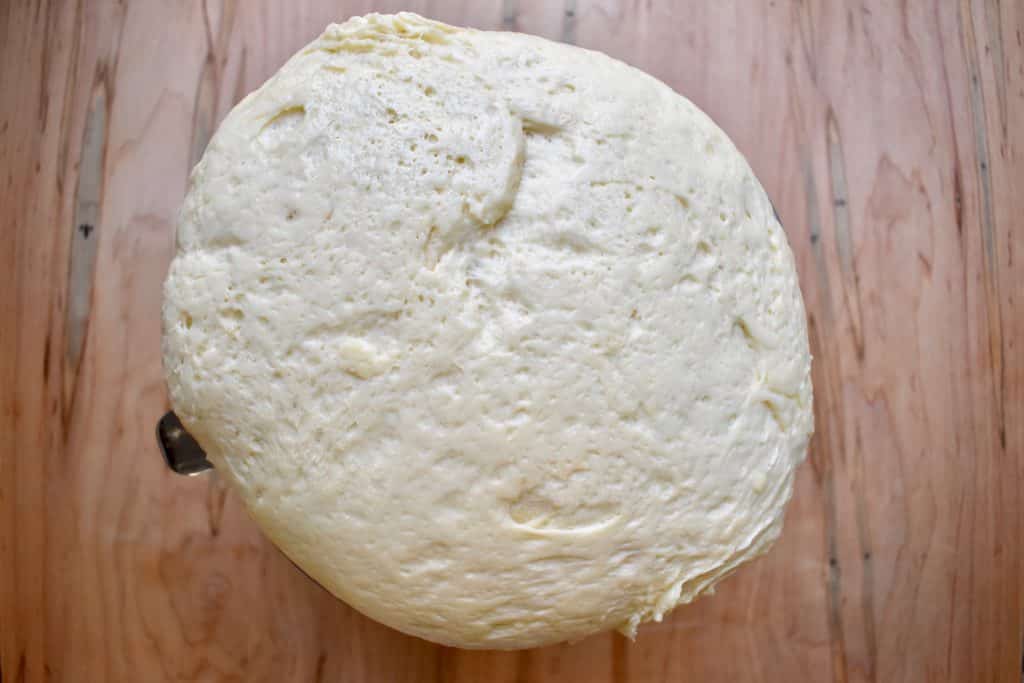
Put the dough in a warm place to rise until it is about doubled in size. This should take about 1 to 1.5 hours. Growing up, Mom would always set her dough in the laundry room to rise – it was the warmest spot in the house and worked perfectly! I usually put mine in the oven; make sure the oven is off though!
I learned recently that you can set a bowl or measuring cup full of hot water in the oven with the dough to help create a good environment for the dough to rise. That’s what I did this time, and it worked great!
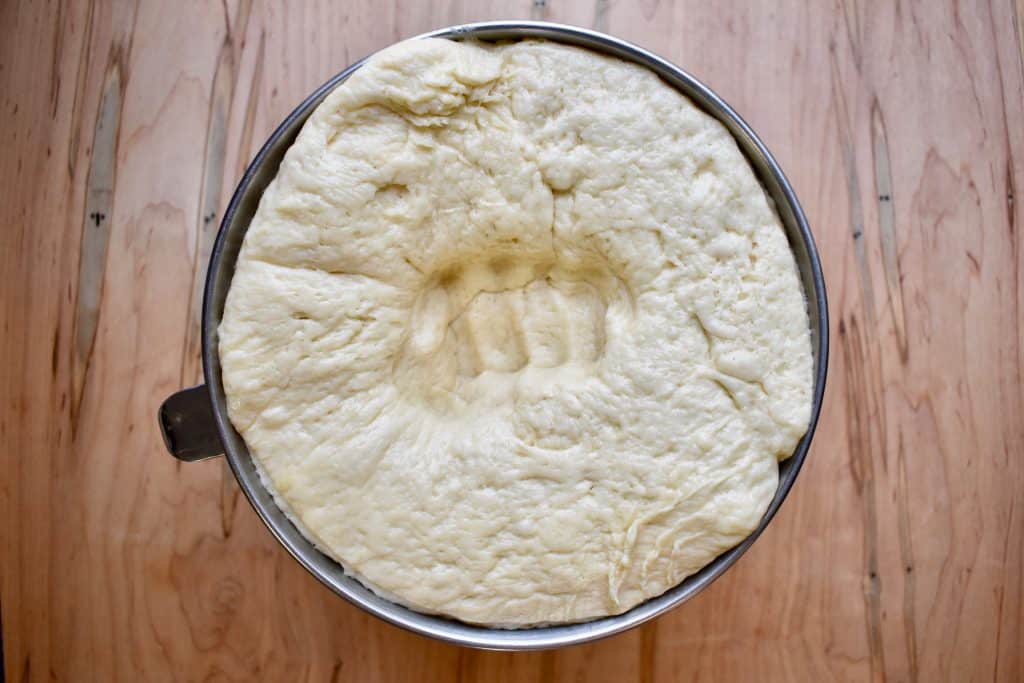
Keep in mind that I did make a double recipe for these photos, so your bowl may not be quite so overflowing! Punch the dough down and then turn it out onto a floured counter top.
Another tip I recently learned (if you are one of the fortunate ones to have found good cling wrap – cause let’s be honest… some cling wrap just doesn’t cling to anything) you can cover your counters with it before putting flour down and rolling out the dough. Makes clean up a breeze!
Unless you have a really large counter space to work with, I recommend dividing the dough in half before rolling it out. So, cut the dough in half and place the half back in the bowl and cover. (If you are doubling the recipe, cut into quarters and place 3 of them back into the bowl.)
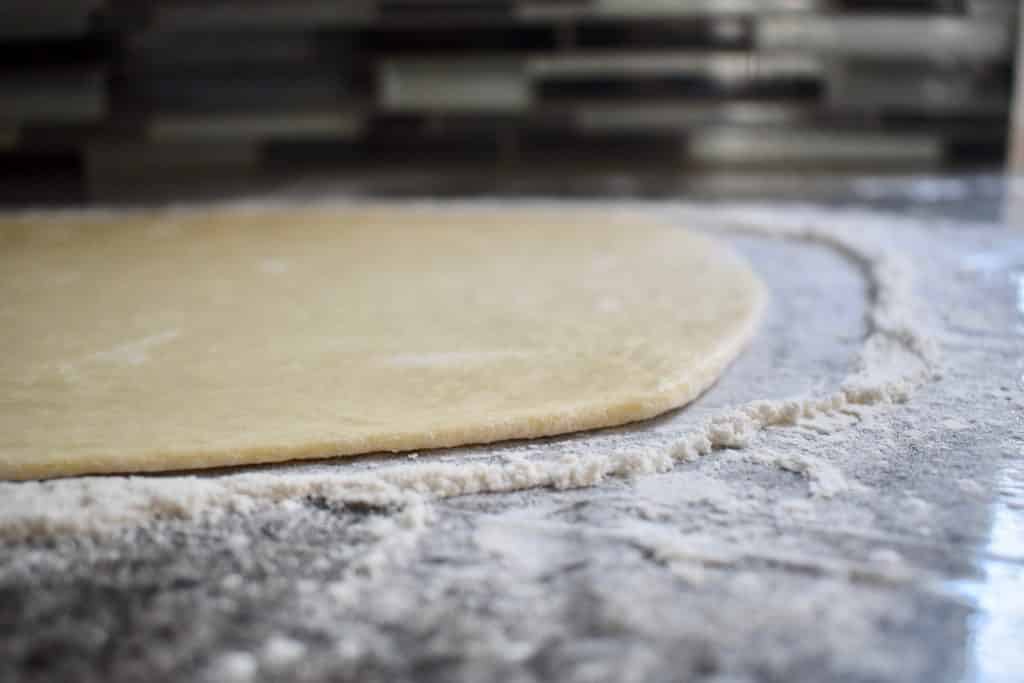
Using your hands, shape the dough into a log and set it onto the floured counter. This will help you achieve the correct shape while rolling it out. Sprinkle a little flour on top of the dough so your rolling pin doesn’t stick and roll the dough into a long rectangle about 1/4 inch thick and 12-14 inches deep. The length will change depending on how big your section of dough is.
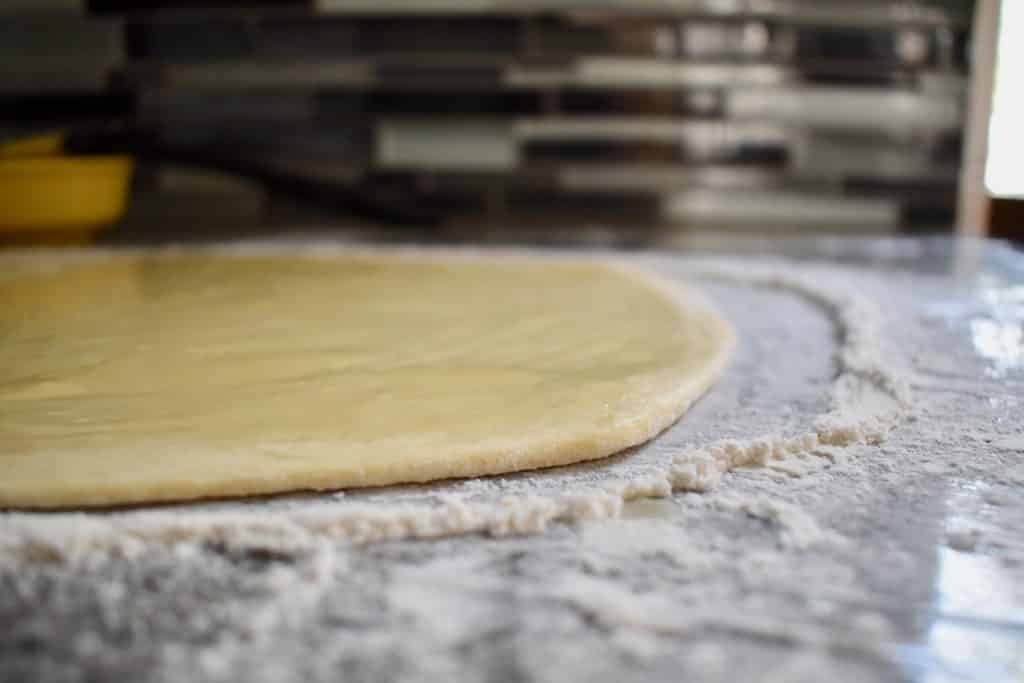
For the filling, brush the dough with melted butter to within about 1/2 inch of the edge. It’s important to leave a bit of an edge so we can seal the rolls in a minute.
Sprinkle cinnamon sugar on top!
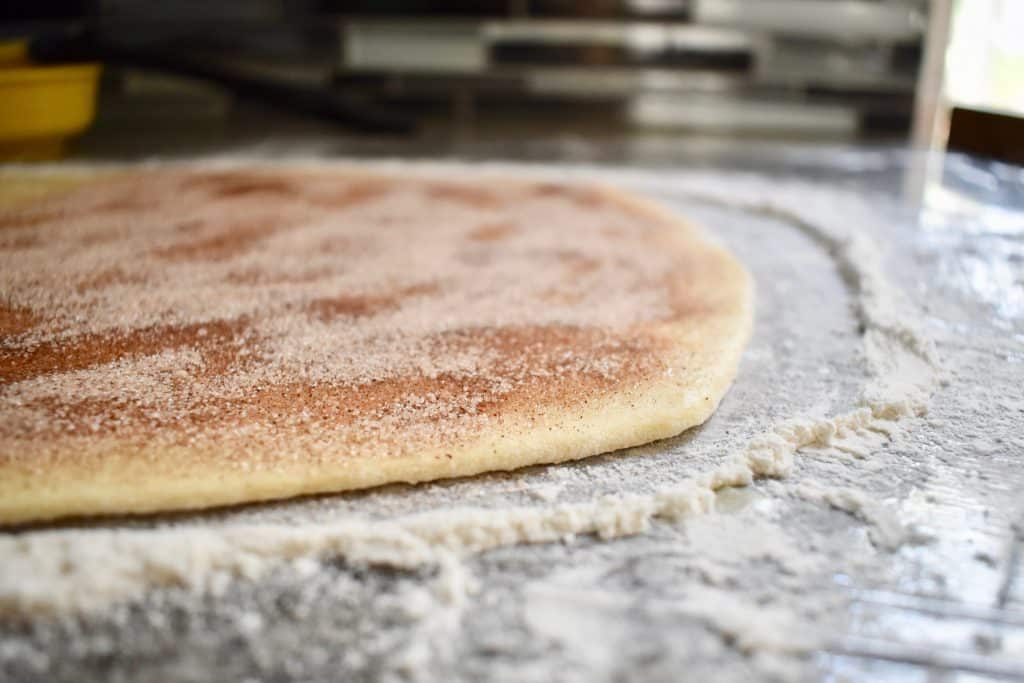
You can sub in alternate fillings here if you are feeling adventurous! Cream cheese, Nutella, nuts, spices, orange, etc… whatever sounds good to you!
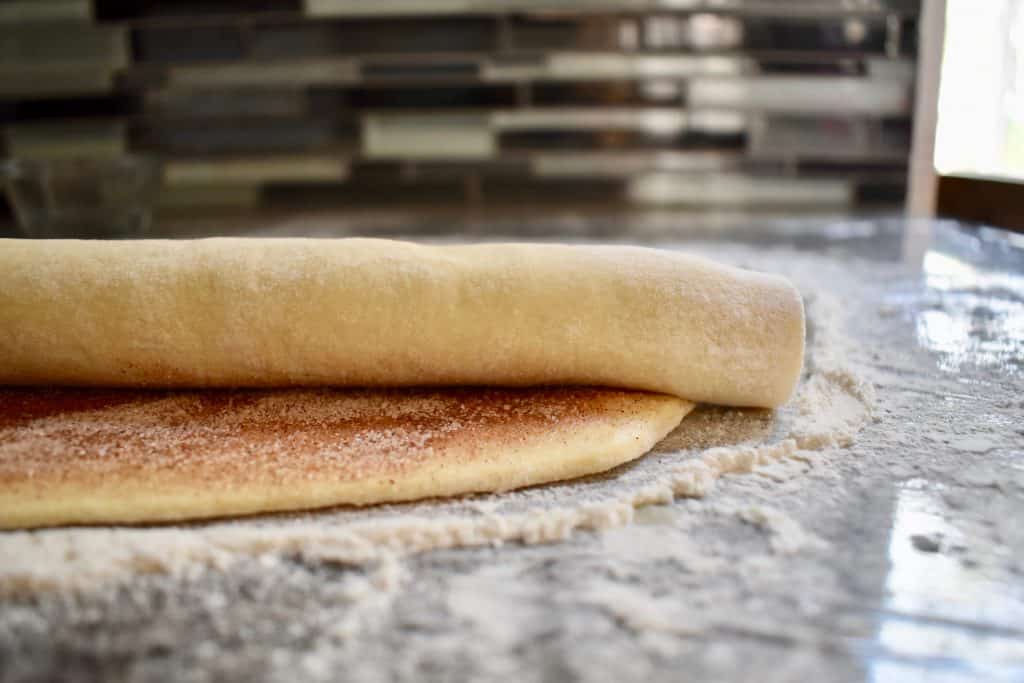
Starting at the top of the dough, slowly and gently roll the dough toward you to create a long, tight roll. Stop just shy of rolling the dough completely.
Dip your finger into a cup of water and pat the exposed edge of dough along the bottom. This will help seal the cinnamon rolls so they don’t unroll. Pull the bottom flap of dough up and gently press it to the roll to seal.
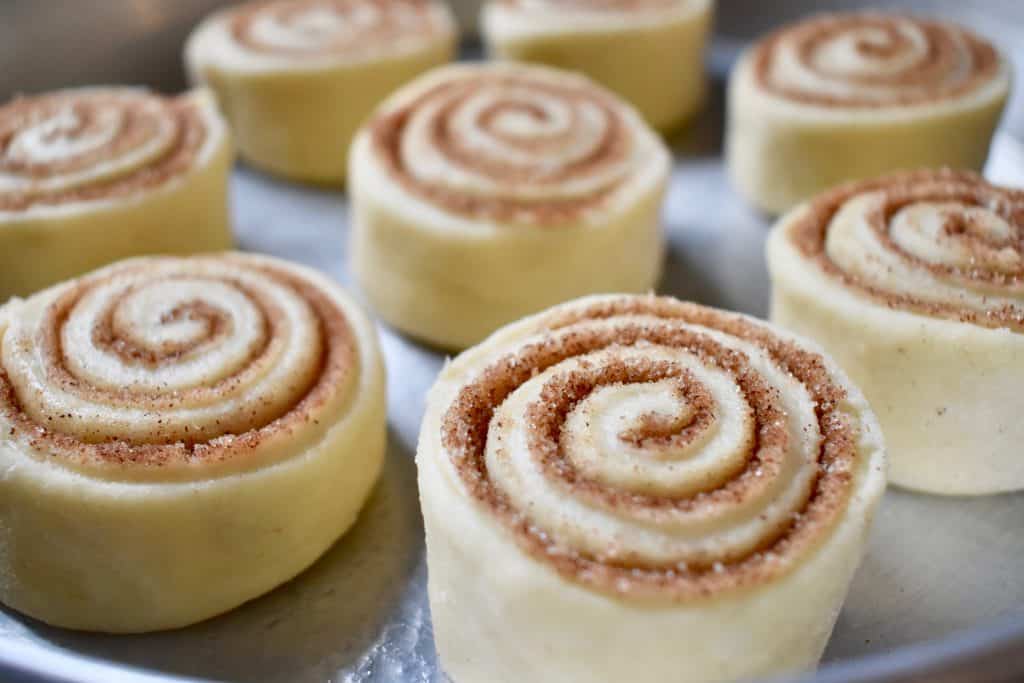
Using a piece of string or even dental floss (just not flavored floss!), cut the cinnamon rolls into 1 inch slices. Slide the string under the roll and bring each end up and over the dough to form a criss cross. Pull the ends in opposite directions until the string slices all the way through.
An alternate route you could take at this point is to make a king cake rather than cinnamon rolls. Instead of slicing the dough into individual rolls, shape it into an oval, seal the two ends together, and bake! I’m originally from south Louisiana, so this is a huge hit back home around this time of year.
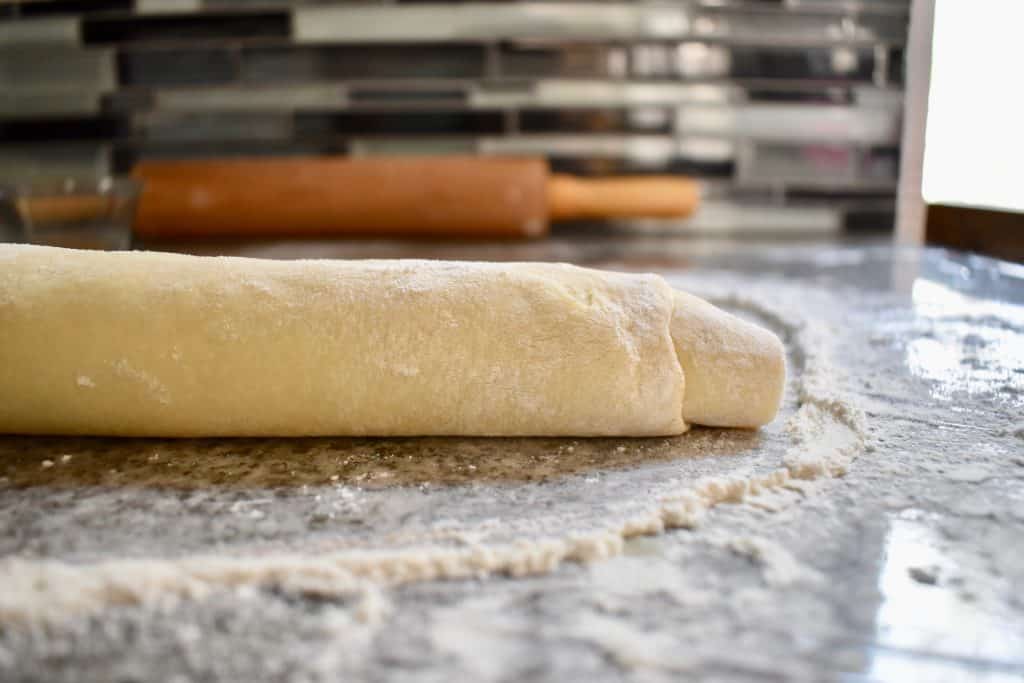
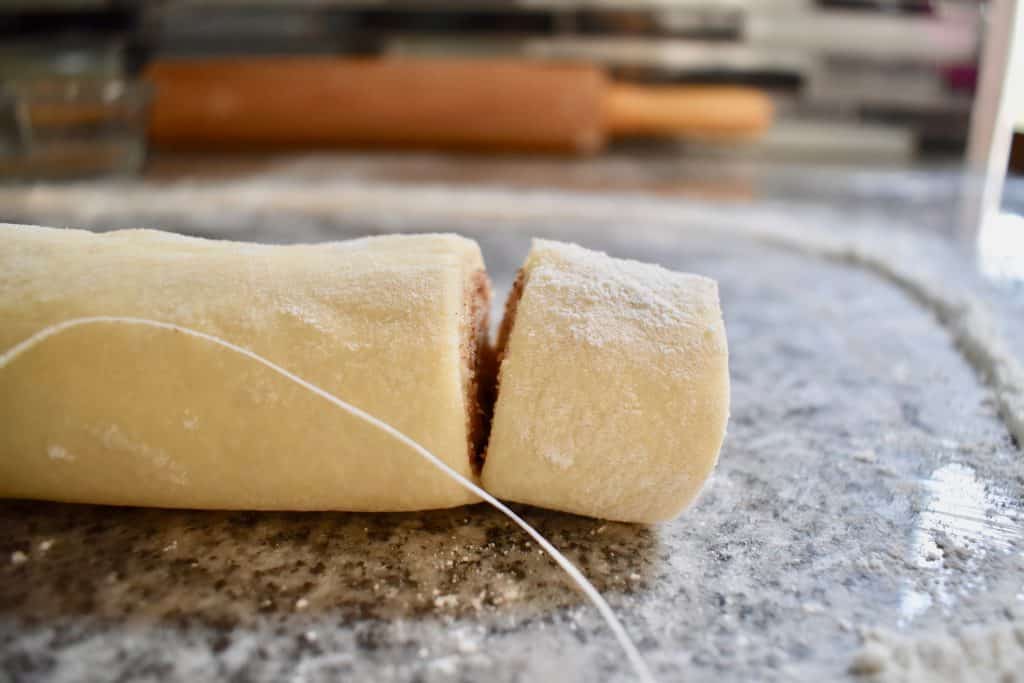
Place each roll onto a greased baking pan leaving about 1/2 inch of space between them. Repeat the rolling, filling, and slicing process until you have used all of the dough in the bowl! You’re nearly done!
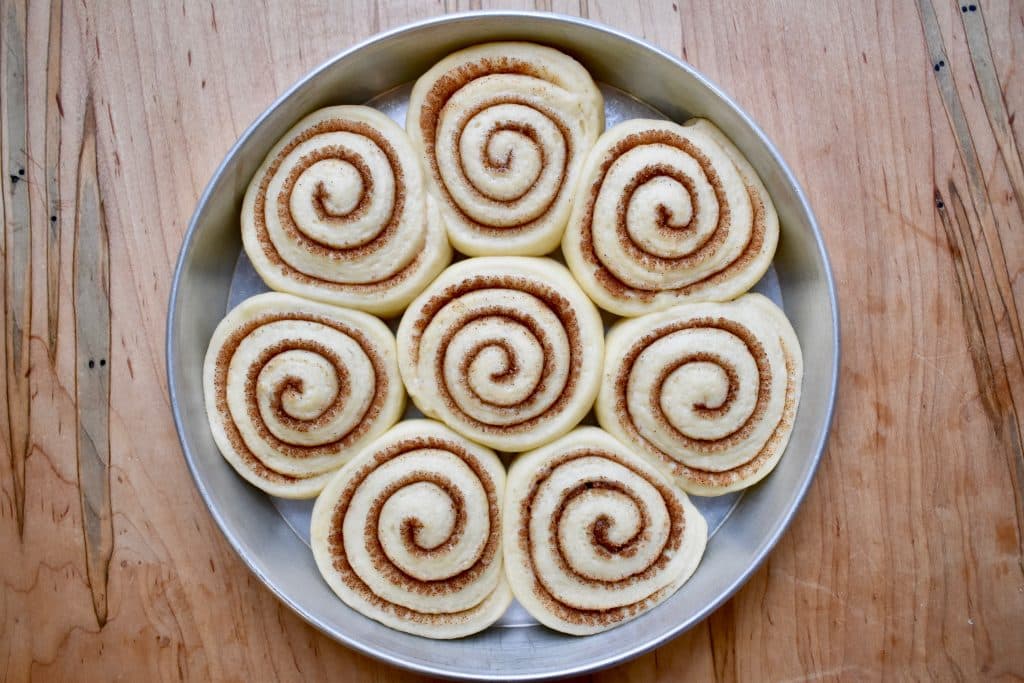
Set the pans in a warm place to rise until doubled in size; this should take about 1 hour.
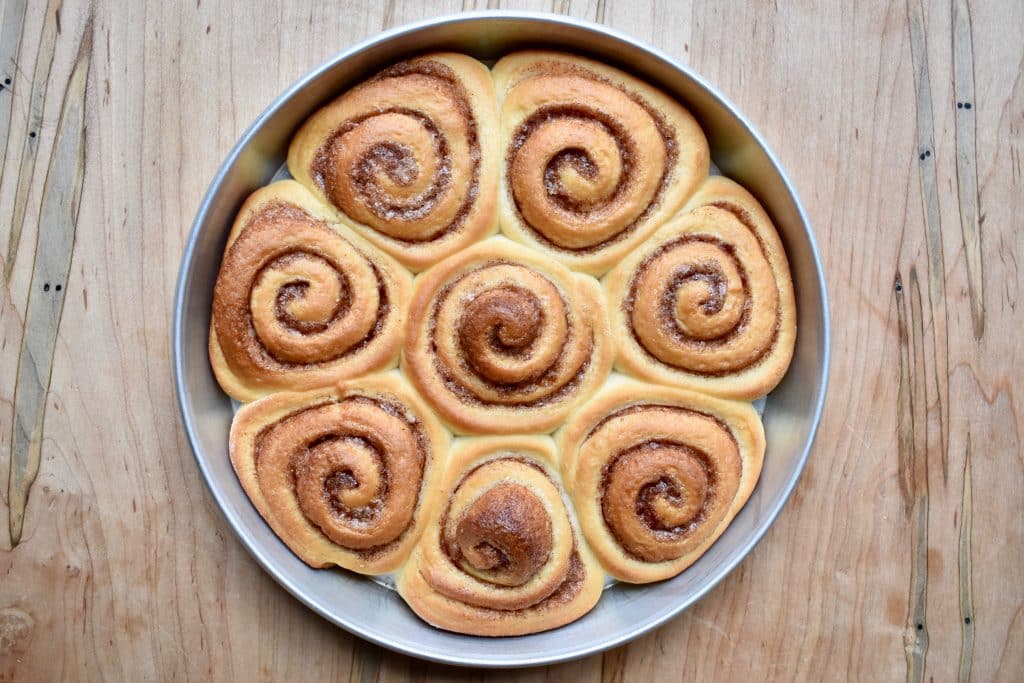
Bake the rolls at 350 degrees F for 17-20 minutes or until golden brown.
As I mentioned, I like to freeze some of my cinnamon rolls. If you want to try that, follow the recipe up until this point. Let the rolls cool, wrap them well with cling wrap and aluminum foil, and place them in your freezer. When you are ready to eat them, put them in the oven just until they are warm and then ice and enjoy. It’s easy!
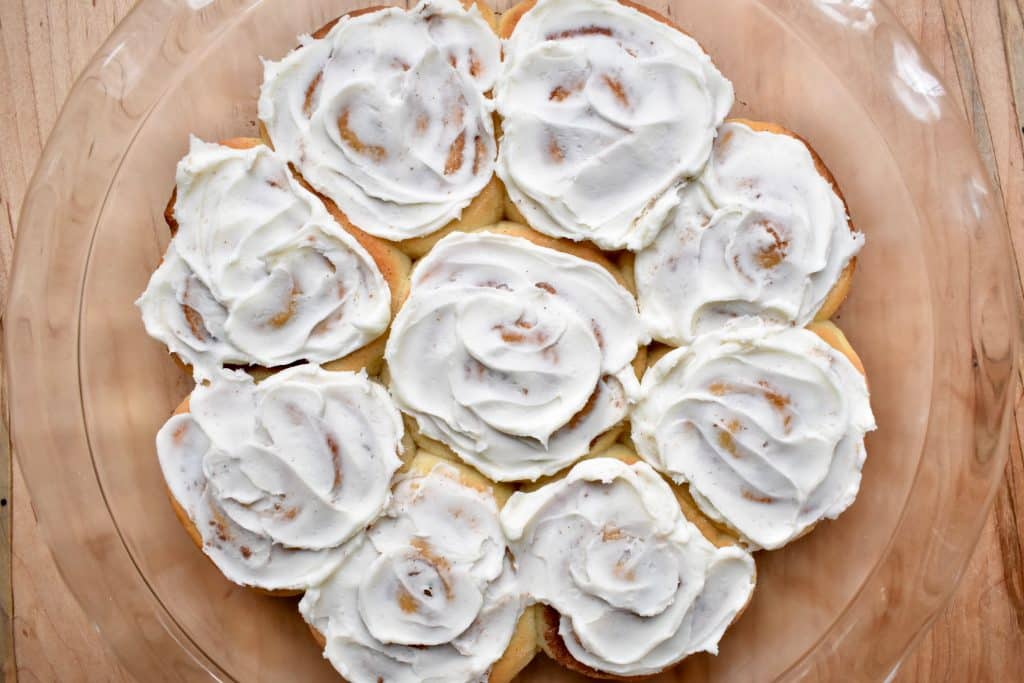
For the icing, cream together butter and powdered sugar with a tad of vanilla and water.
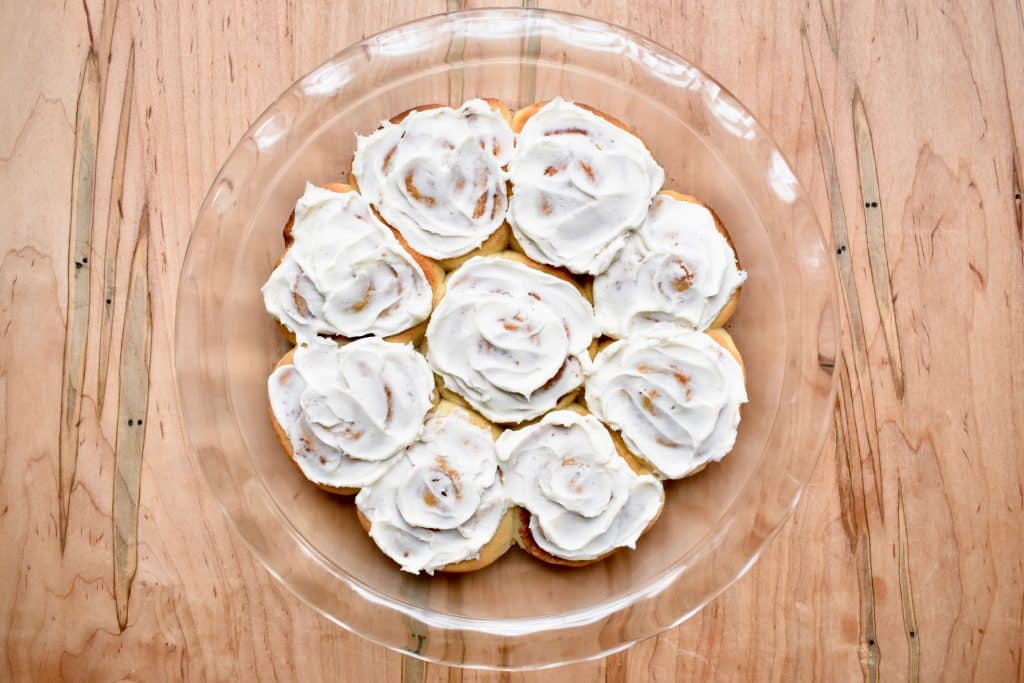
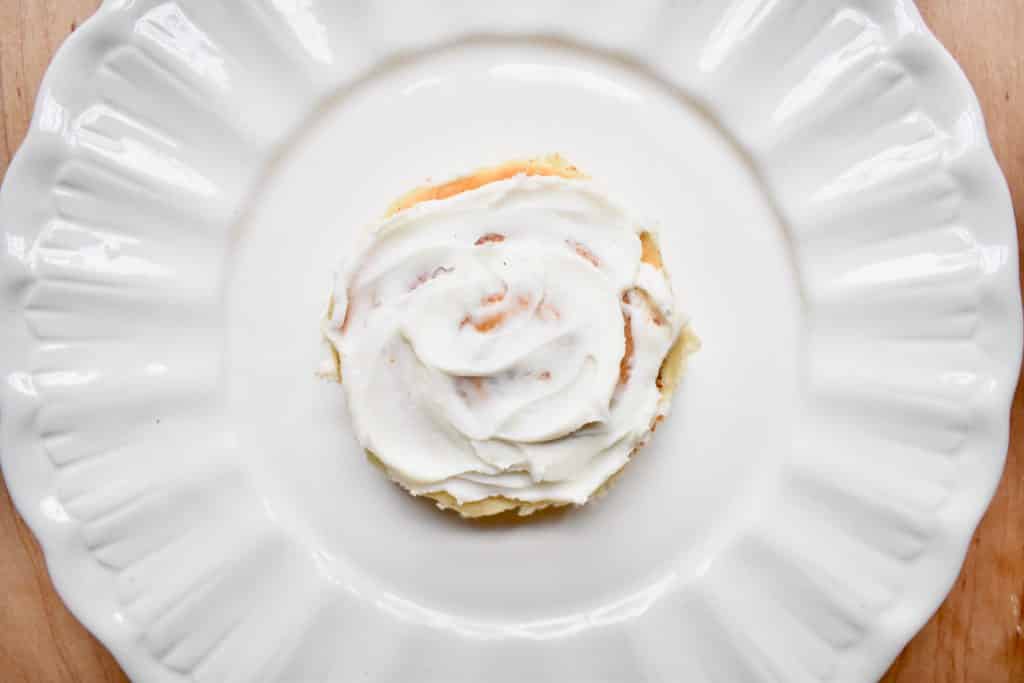
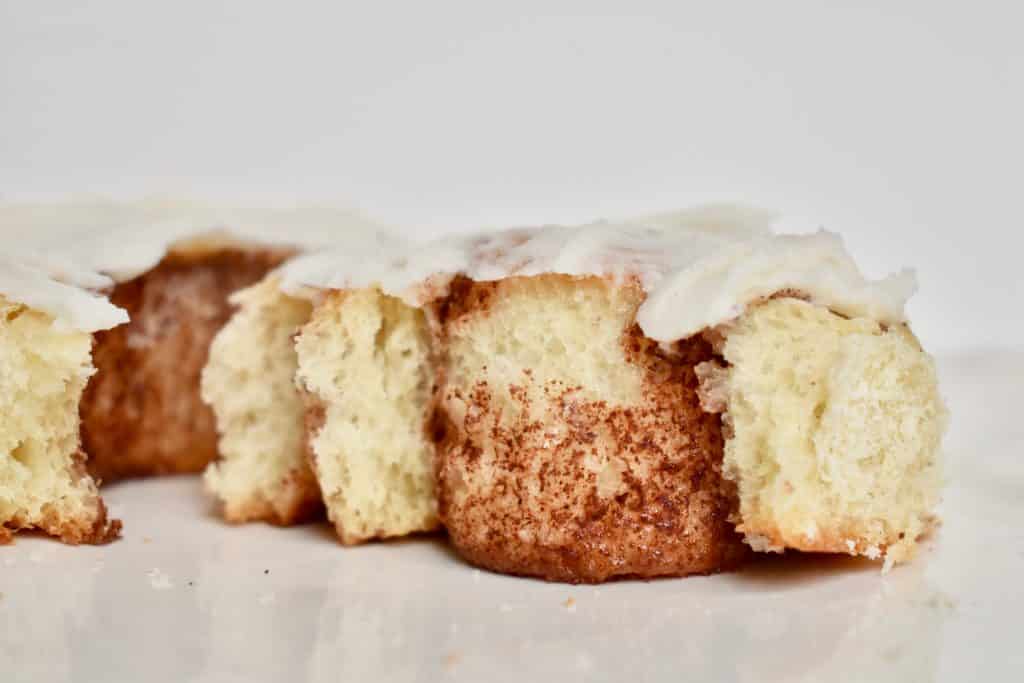
I hope you enjoy this recipe! Take it one step at a time, and you will be enjoying warm cinnamon rolls before you know it!
We would love to hear from you when you make these! Tag us on instagram @plantoeat or @thelittlebluemixer and use our hashtag #bakingwithPTE
Cinnamon Rolls
Source: thelittlebluemixer.wordpress.com
Course: Breakfast
Cuisine: American
Prep Time: 3 hr 30 min
Cook Time: 20 min
Total Time: 3 hr 50 min
Yield: 3 dozen cinnamon rolls (4.5 pans)
Serves:
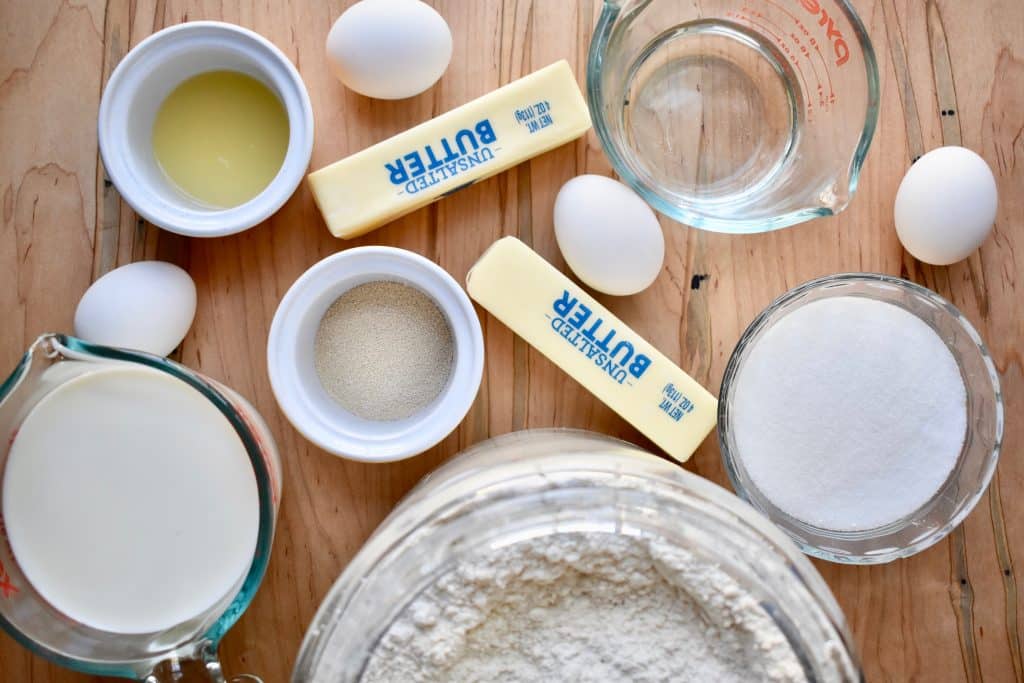
Ingredients
- Dough Ingredients
- 1 cup milk scalded
- 1 package yeast (2 1/4 teaspoons)
- 1⁄4 cup water 100-110 degrees
- 1⁄2 cup butter softened
- 1⁄2 cup sugar
- 1 teaspoon salt
- 2 eggs slightly beaten
- 1 tablespoon lemon juice
- 4-5 cups all purpose flour
- Filling Ingredients
- 3⁄4 cup butter melted
- 2 tablespoons cinnamon
- 1 cup sugar
- Icing Ingredients
- 1 cup butter softened
- 4 cups powdered sugar
- 1⁄2 teaspoon vanilla
- 2 tablespoon water
Directions
- Scald the milk on the stove and cool until lukewarm.
- Add the yeast to the water (100 – 110 degrees) and let sit for at least 5 minutes.
- Meanwhile, cream together the butter, sugar, and salt in a mixing bowl.
- In a small bowl, slightly beat the eggs with a fork. Add the eggs, lemon juice, milk, and yeast to the mixing bowl and slowly mix.
- Gradually add flour to the mixture.
- Turn the dough out onto a lightly floured counter and knead well. The dough should be slightly sticky to the touch but not wet.
- Clean your mixing bowl and spray the inside with cooking spray. Return the dough to the bowl and spray the top of the dough with cooking spray. Cover the bowl with cling wrap and let it rise in a warm place until doubled in size, about 1-1.5 hours.
- Once doubled, punch the dough down and turn out onto a floured counter.
- Cut the dough in half and place half back in the bowl and cover.
- Using a rolling pin, roll the dough into a long rectangle about 1/4 inch thick and 12-15 inches deep.
- Melt the butter for the filling in a microwave safe bowl [remelt as needed].
- In separate bowl, whisk together cinnamon and sugar for filling.
- Brush the dough with melted butter to within 1/2 inch of the edge. Sprinkle cinnamon sugar on top.
- Starting at the top of the dough, slowly and gently roll the dough toward you to create a long, tight roll. When the roll reaches the bottom edge, dip your finger into water and then gently pat the exposed edge of dough. Pull up the bottom flap of dough and gently press it to the roll to seal.
- Cut the cinnamon rolls into 1 inch slices using a string. Slide the string under the roll and bring each end up and over the dough to form a criss cross. Pull the ends in opposite directions until the string slices through. Place the cinnamon rolls into a greased baking pan, leaving about 1/2 inch of space between them.
- Repeat steps 10 through 15 until all dough has been made into cinnamon rolls. Set in a warm place to rise until doubled in size, about 1 hour.
- Bake at 350 degrees for 17-20 minutes or until golden brown.
- Frost with icing and enjoy!
- Icing Directions:
- In mixing bowl, mix butter until creamy.
- Alternate mixing in powdered sugar, vanilla, and water until all ingredients are combined.
- Spread on top of cinnamon rolls!


